Step by Step Baby Boomers & Tips on Creating the Perfect French Mani

Step by Step Guide on Baby Boomers + Tips on creating the Perfect French Mani
Babyboomer Overlay - Step by Step
Step 1- Prep the nail with a cuticle tool to remove the dead skin and then remove the shine of the nail with a 180 grit file. Dehydrate and use your chosen primer

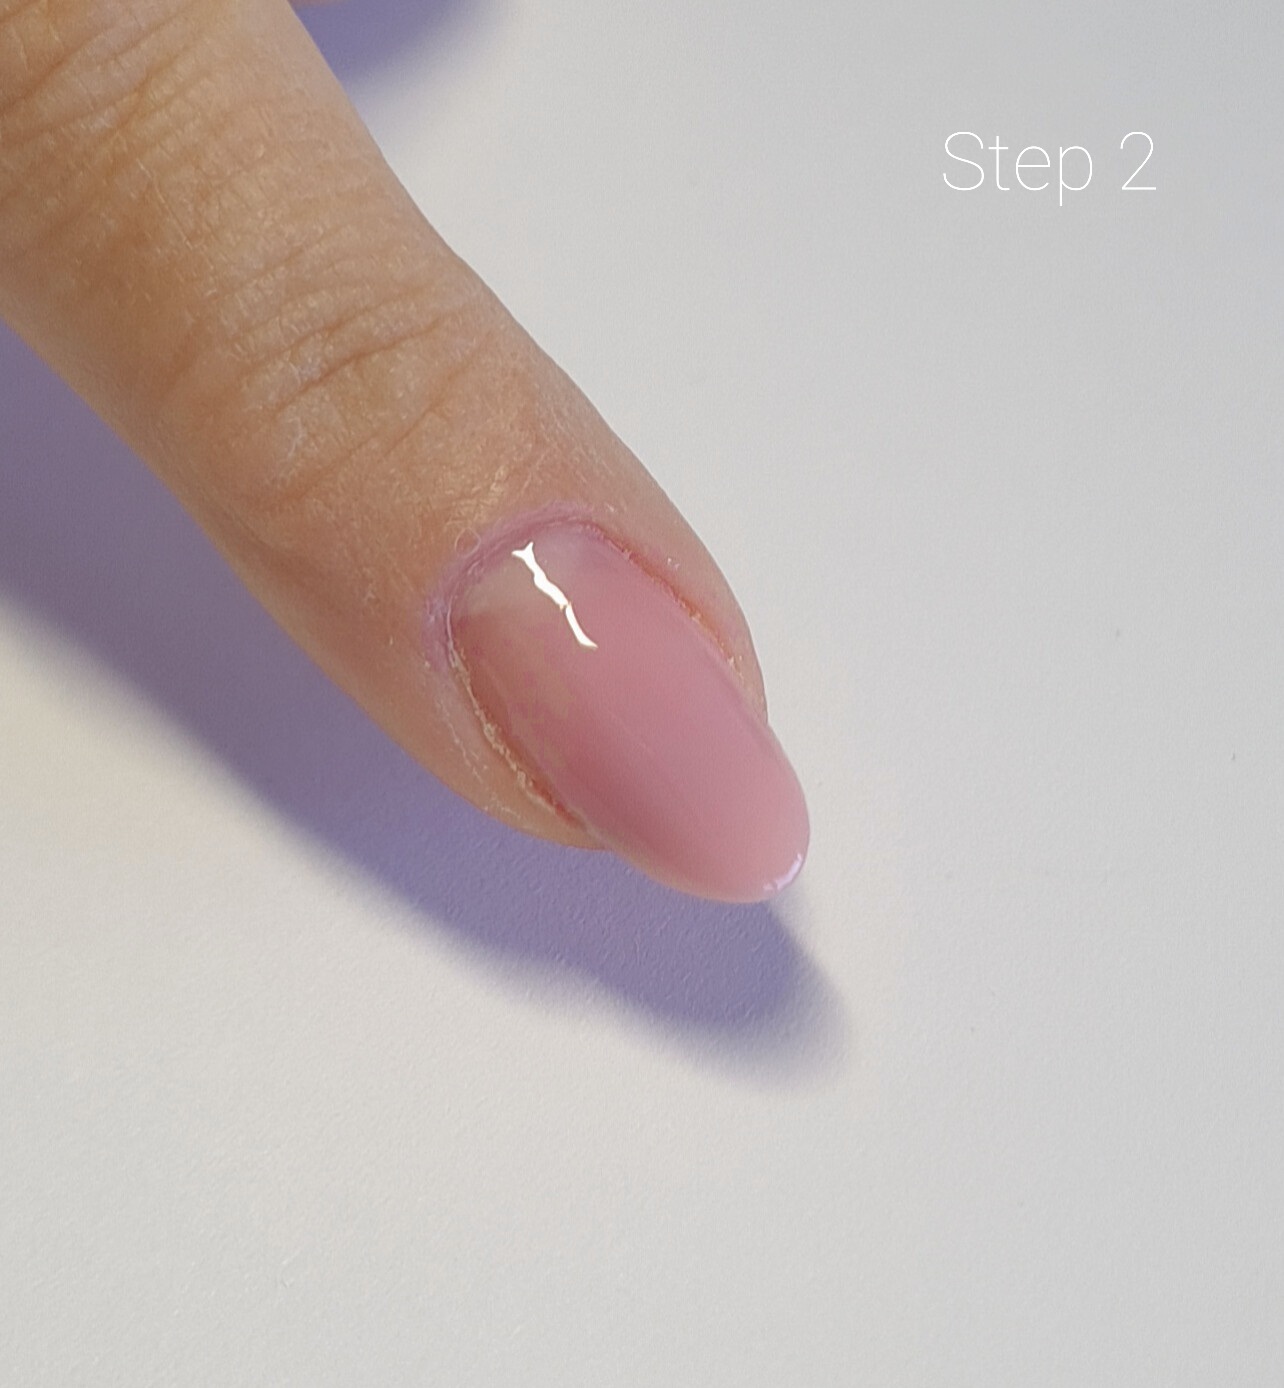
Step 2- Apply cover pink base layer with a gel brush and cure
Step 3 - Using a soft white gel create the free edge area. Blend back towards the cuticle with your brush and make sure to feather the white out halfway down, then cure

Step 4 - Apply a milky rose pink to the apex. Blend around the cuticle and side walls and gently fade over the white gel blend line with your gel brush then cure

Step 5 - File and shape with a 180 grit file. Remove scratches with a buffer then top coat and cure.

I think the French Mani has always been popular because it's so versatile and can be glammed up or dressed down and will go with any outfit. My clients love the fact that it looks so clean, even at the infill stage 3-4 weeks later. I have a mixture of young and older clients who love to wear the French Mani and for my clients, the almond shape is the most popular because of its
elegance and ease to wear.
My top tips for creating a crisp smile line would be to use a brand new file because the edge of the file is nice and sharp and enables you to get that nice crisp smile line.
Keeping the pink ratio between 70% and 75% and the white between 25% and 30% gives a nice elegant-looking nail.
Keeping the bulkiness down by having good product control and not using more than you need to and also by turning the client's hand upside down to pull the product back to the middle.
Creating an even look across all nails comes from so many things, like good product control, good filing routine, and making sure to check from all angles even from the client's view.
My recommended tools are good quality files, good brushes, and a pinching clamp if you want to keep the sides of the nail less bulky.
When choosing the perfect cover shade for a client I have samples painted onto pop sticks so that I can hold near to their skin and that will automatically make me see which tone suits the skin best.
Emma Furay,
CN Educator
Nail tech credit is Emma_thenail_artiste
Comments
Leave your comment